Color Gates is the third co-op puzzle in our TwozyGames Originals lineup, and the one people misread fastest. It looks like a colour-matching game. It is actually a game about a resource there is not enough of: there are two colours in the world, one of you is each, and the only thing you can do about that is trade — which flips both of you at once. The colour that lets you move forward is the colour you just took off your partner. We wrote the code, so this guide can give you the actual numbers the game is checking, and why nearly every early death comes from the same misunderstanding.
The one number the whole game is built on
A door is charged by standing on both pressure plates at once, and the two plates in a room are always the same colour as each other. Since exactly one of you can be that colour, the other is standing on the wrong one and burning for the entire charge.
Here is the number: charging takes 2.05 seconds, and you are lost after 1.90 seconds on the wrong colour. That gap is 0.15 seconds, and it is not an accident — it is the reason the game exists. One player physically cannot hold the charge alone. Trading is not a clever optimisation you discover later; it is the mechanism, and if you are not trading from the first second of the charge, you are already losing.
Split evenly, each of you pays about 1.02 seconds of that charge — a little over half your budget — which is exactly why the walk to the plates has to be cheap. Arrive with a meter already half full and the charge alone will finish you.
Three floors, and the middle one is the trap
Everyone learns two of these quickly and gets the third wrong for a long time.
- Grey drains your meter, and fast — three seconds of burn cleared per second standing on it. A full meter empties in about two thirds of a second. Grey is a breath, not a rest stop.
- The wrong colour fills it in real time. One tile of the grid takes about 0.2 seconds to cross, so you can walk roughly nine tiles on hostile ground before you are lost. That is further than most people think, and it is why a short dash across the wrong colour is often the right answer.
- Your own colour holds it. This is the trap. Standing on amber as the amber player does not heal you — it stops the bleeding and nothing else. Parking on your own colour to recover is the single most common early mistake, and you can lose a whole level waiting for a number that is never going to move.
Trade on the meters, not on a beat
The trade has a 0.5 second cooldown, which gives you about four trades across a single charge. The instinct is to alternate on a rhythm. Do not — watch the two meters and hand the colour to whoever is cleaner, every time the cooldown comes up. Rhythm trading drifts, and a drift of even a third of a second at the start of a charge is the difference between both of you walking out and one of you burning down at the last moment.
In two-player, say it out loud. "Take it" is faster than either of you reading the other's meter across the screen.
Route around grey, not around distance
Because grey is the only floor that heals, the shortest path is almost never the cheapest one. A detour that touches a grey tile costs you a few tenths of a second of walking and refunds up to a full meter. Before a long errand — and especially before walking onto the plates — check where the nearest grey is, and go and stand on it first.
The same rule decides where to leave your partner. Anyone who is about to spend time doing nothing should be doing that nothing on grey.
Two kinds of door, and only one of them is negotiable
The barred door is the one the plates charge. Once charged it latches open for 6 seconds — it does not need anyone to keep standing on anything. This matters more than it sounds: do not try to charge and cross at the same time. The sequence is always charge, then run, and six seconds is a generous amount of walking if you are not also arguing about it.
A colour gate is a completely different material. It is solid to the wrong colour — not slow, not painful, solid. No amount of burning gets you through the wrong-coloured one, so if a door wants amber and you are azure, the answer is a trade and it is never a sprint. Confusing these two is the second most common way to lose a level.
Solo is not easy mode, it is different physics
You can play alone — Shift switches between the two characters and every level is verified completable that way. But it is not the same problem. Steering one character at a time costs roughly twice the wall clock for the same ground, and both meters keep running the whole time, including the one belonging to the character you are not touching.
Our own timing runs bear this out: on the tightest levels a perfect two-player pair peaks at about 1.4 seconds of the 1.9 budget, while the same route played solo peaks near 1.8. That is most of your margin gone. Solo tactics follow directly — park your partner on grey before every errand, and take the charge phase as slowly and evenly as the cooldown allows, because you cannot make up time later.
All six levels
1. Two Plates. The tutorial for the whole game. Walk both characters into the amber room, one onto each plate, and start trading immediately. The approach is short and mostly grey, so you should reach the plates with clean meters; if you do not, go back to the grey and try again rather than starting the charge dirty.
2. Long Latch. The plates sit at opposite ends of a wide azure room, so after the charge the latch has to carry you both back across it. This is the level that teaches you the door does not need holding. Charge, then move — and move together, because whoever is left behind is still burning.
3. Split Duty. Two separate mouths into one room, so you cannot walk the pair in side by side. Whoever arrives second inherits whatever colour is left, which means the split is decided before anyone steps on a plate. Decide it on the grey outside.
4. Locked Plate. One plate is behind an azure gate, and this is the level where the two rules collide: getting in wants azure, and surviving on an azure plate wants amber. Send the azure character through the gate first, then trade the moment both of you are standing where you need to be — not before, or you will be locked out of your own plate.
5. One Breath. There is exactly one grey tile in the room and it is not on either plate. It is a genuine decision: stepping off to use it costs you charge progress, because the charge only runs while both plates are held. Usually the answer is not to use it at all — arrive clean and trade well instead.
6. Last Breath. Everything at once. Charge, cross, and then the last two doors are colour gates that each want a different colour, so the pair has to arrive split correctly with no grey left to fix it on. Work backwards from the pads: decide who ends up amber before you start the charge, and use the trades during the charge to land on that split.
The short version
Trade from the first second of every charge. Give the colour to whoever is cleaner. Treat your own colour as a pause, not a cure. Route through grey. Charge, then run. And if a door will not open for you, check whether it wants a trade or whether it is simply a wall — the game never uses the same shape for both.
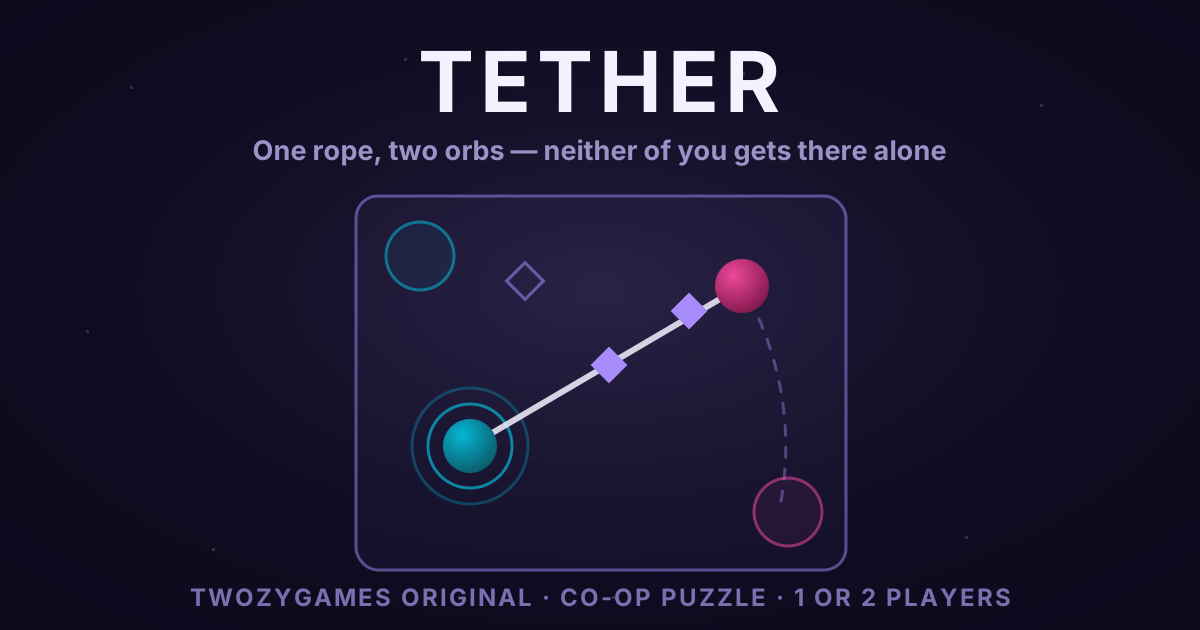
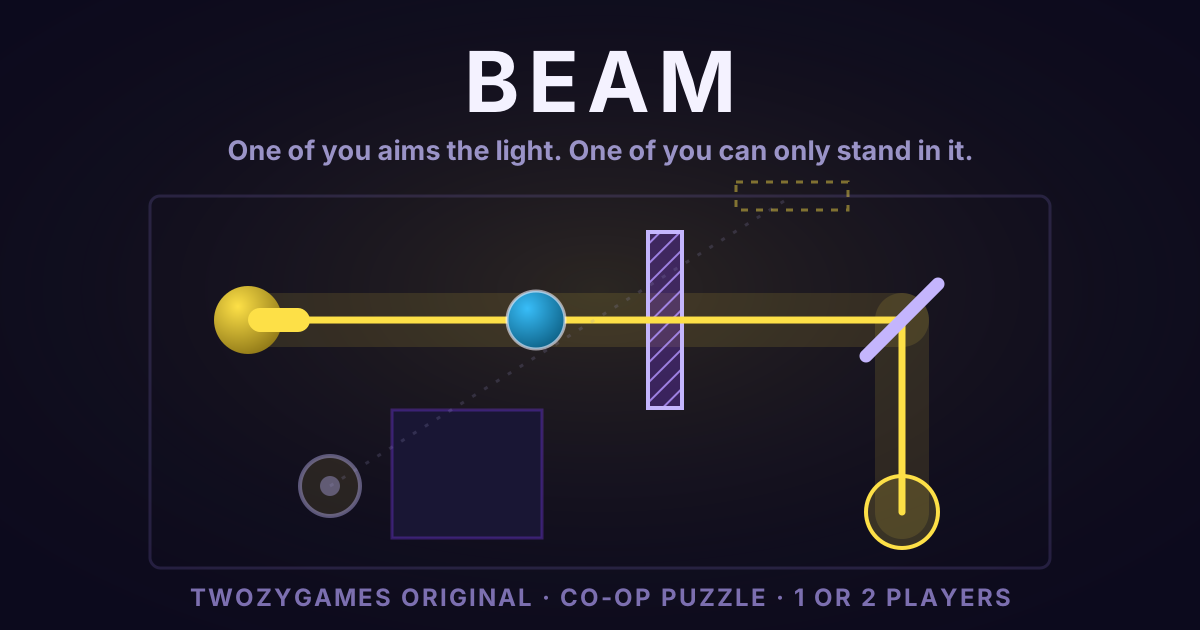
If this is your first co-op original from us, Tether ties you together with a rope and Beam splits what each of you can even see. Color Gates is the one where you share something there is not enough of.