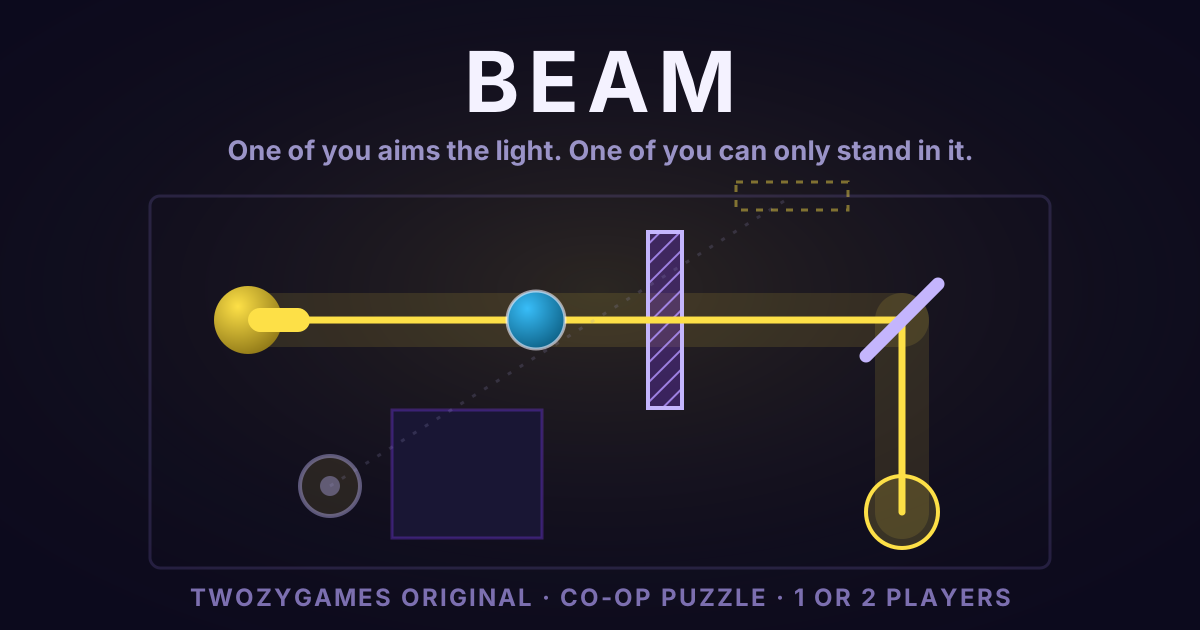
Tether is the co-op puzzle in our TwozyGames Originals lineup, and it is the only one you cannot win by being faster than the other player. Two orbs are joined by a rope, both have to sit on their pads at the same moment, and the thing that actually solves every level is neither orb — it is the line drawn between them. We wrote the physics, so this guide can tell you exactly what the game measures: why the rope lights nodes and your orbs never do, how anchoring turns the tether into a compass, and how to clear all six levels.
The one rule the whole game is built on
Nodes light from the middle of the rope, never from an orb. Before a node lights, the game checks two things: the rope itself has to sweep across the node, and both orbs have to be clear of it. That second clause is the entire design. Without it you could simply drive one orb over every node in turn and the rope would be decoration. With it, the only way to light a node is to sweep the rope across it — and a rope can only be swept by two bodies moving in relation to each other.
Read it as one sentence: the rope lights nodes, so keep your orbs off them. If you are parked directly on a node wondering why nothing happens, that is why.
Anchor is a compass, not a brake
Holding anchor makes an orb immovable. Beginners use it to stop drifting, which is the least of what it does. An anchored orb is a pivot: the free orb keeps all the speed it had sideways to the rope and loses only the part pulling directly away, so instead of stopping it swings around the anchor at a fixed radius. Anchor one orb, push the other sideways, and the tether sweeps a clean arc — every node on that arc lights in a single motion.
That is why the levels are built around rope length rather than map size. The rope is a fixed length for a given level, so each anchor point hands you a circle of exactly that reach — and you can see it, because a taut rope draws the radius for you. Clearing a level is mostly a question of where to plant the anchor so one sweep covers as many nodes as possible, then where to re-anchor for the rest.
The rope pulls — use it
When neither orb is anchored the tether is not a wall. Pull past its limit and the momentum is shared between the two orbs, so the pair travels together and the idle orb trails behind like a real weight. In solo that is the only way to move the orb you are not driving: drive away, let the rope go taut, and tow it. In 2P it means a hard pull will drag your partner — handy for repositioning, dangerous next to a hazard.
Dying costs the whole level — so take your risks early
Touching a hazard does not just reset your position. Every node you had lit goes dark and the level restarts from the top. So the ordering rule is the opposite of instinct: do the dangerous nodes first, while you have nothing to lose, and save the safe ones for last. Blowing a run twenty seconds in costs you twenty seconds; blowing it on the final node costs you the entire level.
Worth knowing alongside it: the rope itself is immune. It passes straight over hazards — only orbs die on contact. That asymmetry is exactly what the fourth level is asking you to notice.
Every level ends the same way
Pads only arm once every node is lit, and the two pads always sit close together — closer than your tether, by design. So the last move of every level has the same shape: bring both orbs in, drop each on its own pad, and hold both there for a beat. Landing one orb and letting the other drift off restarts that timer, so make the final approach slowly. This is the most common way to lose an otherwise clean run.
Level-by-level walkthrough
1. Drift — no nodes at all. It exists to teach a single fact: you cannot stray. Move together and ride up to the pads.
2. Compass — three nodes in a shallow arch, and the shortest rope in the game. Anchor the lower orb underneath the arch and sweep the upper orb across all three in one pass. This is the level that teaches the anchor verb, and it is worth replaying until the sweep is one smooth movement.
3. Long Arm — the longest rope in the game, with nodes pinned to the far left, far right and top edges. Do not chase them with your orbs. Plant an anchor near the middle and let the rope length do the reaching; the orbs barely need to leave the centre.
4. Mind the Gap — one large hazard dead centre, with a node above it and a node below it. The rope crosses the hazard safely and your orbs do not, so anchor on one side and arc the free orb around the outside. Trying to route both orbs through the middle is how everyone fails this level once.
5. Two Radii — the name is the solution. Four nodes, two diagonal hazards, and no single anchor point that reaches everything. Sweep what one radius covers, re-anchor somewhere new, sweep the rest. Plan the second anchor before you leave the first.
6. Both Ends — five nodes, a central hazard and pads at the far top of the field. Everything at once. Clear the two lower nodes first while the run is still cheap to lose, then work upward toward the pads so the risky part is behind you.
Solo and 2P are genuinely different games
In solo you drive one orb at a time and switch between them, and anchor is a toggle so it stays on while you switch away and reposition the other orb. The whole solo technique is that loop: anchor A, switch to B, sweep, switch back. The orb you are not driving is still a full physics body — it trails on the rope, keeps its momentum, and can absolutely be towed into a hazard while you are not looking.
In 2P anchor is hold-to-anchor and both orbs move at once, which is faster but needs actual talking — "anchor, I'm sweeping" is a sentence you will say a lot. Same six levels, same progress, and both modes run on one keyboard: P1 on WASD, P2 on the arrow keys.
Ready to try it? Play Tether free in your browser, or browse the rest of the Originals lineup.